SIAMESE MAH JONGG · DAY S2
Siamese endings and scoring
- You'll learn
- Recognise dead racks and calculate Siamese payments.
- Time
- 7 minutes
- Builds on
- When to declare
- Up next
- Your first Siamese game
- Why it helps
- You'll be able to follow the rest of the game and work out what each declared hand earns.
SAVE YOUR PATH
Create an account
Save your progress and pick up where you left off.
With two hands in play, it helps to know which are still active. Then you can work out what each declared hand earns.
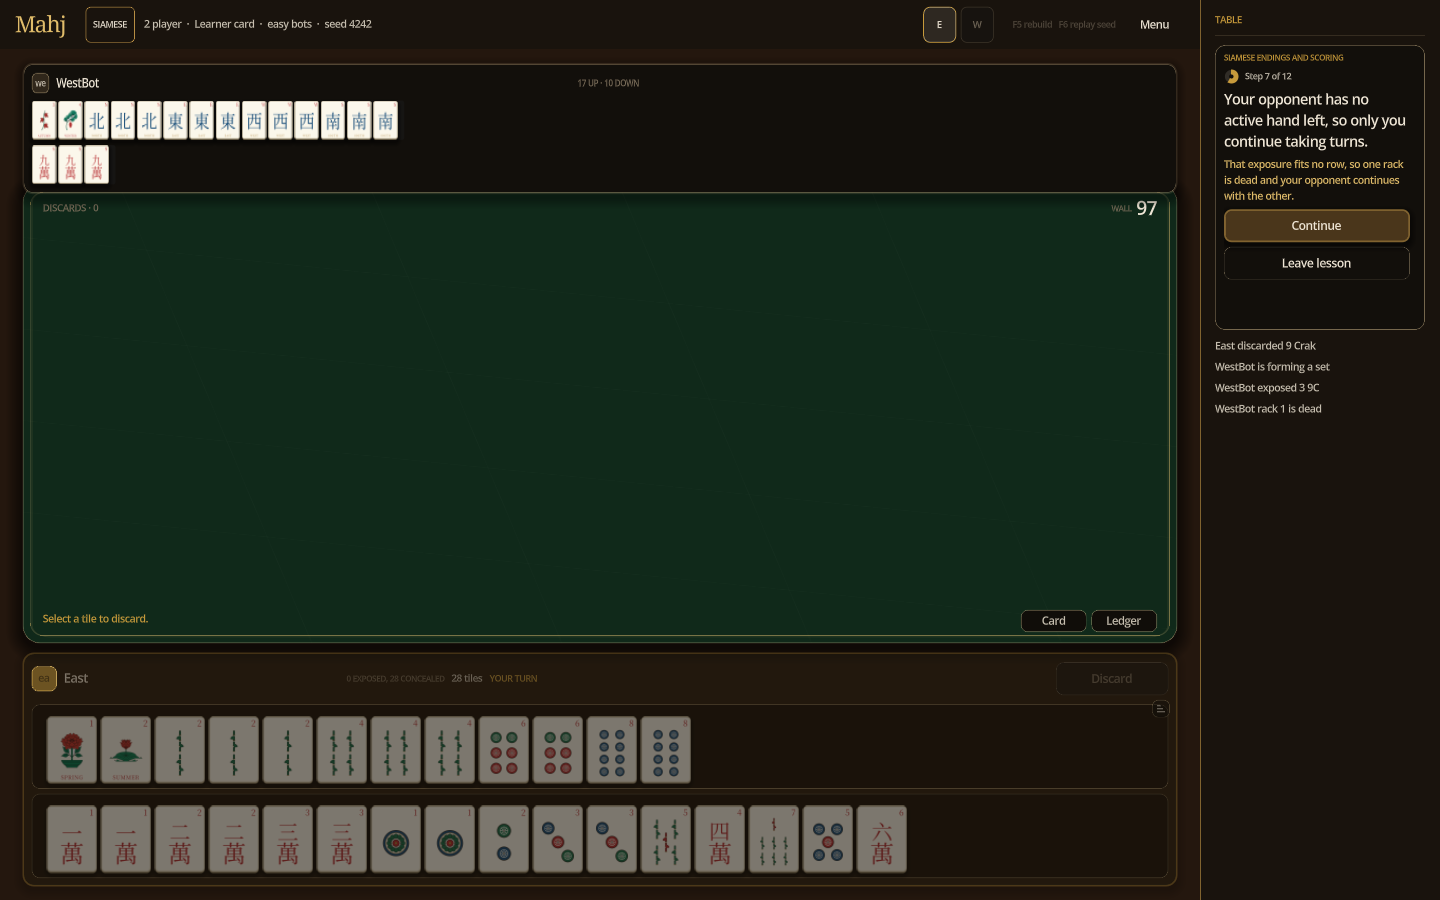
One dead rack may leave you a hand to play
If an exposure fits no row on the card, that rack is dead. You can continue with your other rack. If the other rack is already declared, you stop taking turns and your opponent plays on.
The game ends when a player declares a second mahjong, both of one player's racks are dead, or the wall runs out.
Score your declared hands
For each declared hand, start with the value printed beside its row.
| Result | Payment |
|---|---|
| First mahjong | Its card value |
| Second mahjong | Double its card value |
| Eligible jokerless hand | Double that hand's payment again |
| Both mahjongs declared in one turn | Double both payments again |
There is no extra payment for self-pick in Siamese. For example, two hands worth 25 declared on separate turns pay 25 for the first and 50 for the second, before any jokerless bonus.
Other endings and penalties
- Both racks dead: a flat 100-point penalty.
- Your discard gives the opponent their second mahjong: a 25-point penalty. This also applies if it completes the first of two hands declared together.
- Wall game: each player receives 10 points. A first mahjong already declared is still paid.
Keep this table nearby for your first few games. You can work through one hand's payment at a time.
 222
 444
 666
 888
Remember
First hand: card value. Second: double. No self-pick bonus. One dead rack may leave you playing with the other.
Teaches on the Learner card · reviewed 2026-09-14